Generate App Icons easily with: Favicon Generator
A fast and safe client-side favicon generator.
Favicon Generator Home
Check it out at: favicon.nilay.cc
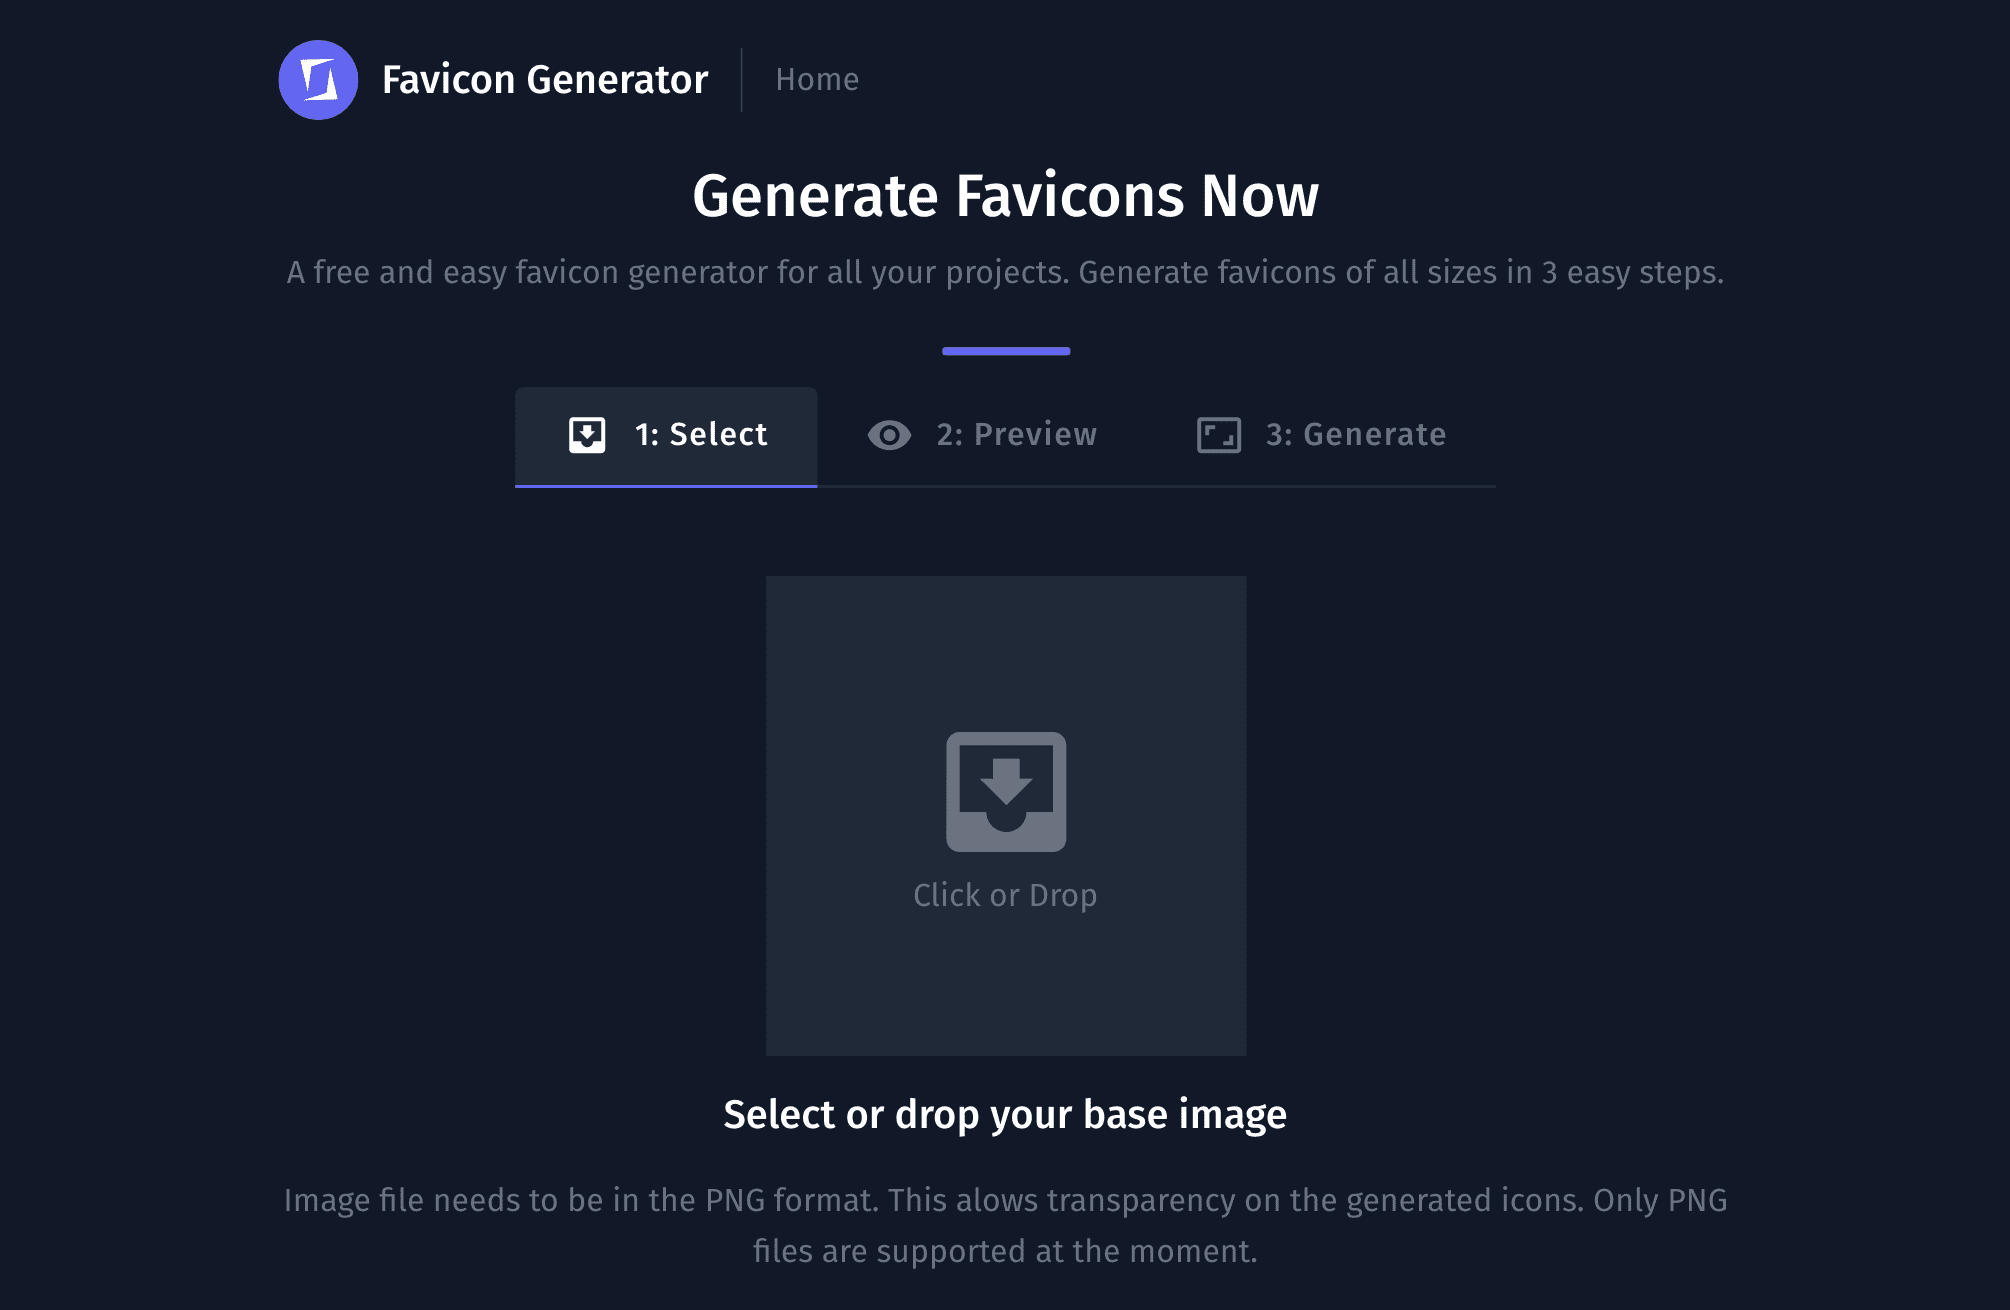
Favicon Generator allows users to easily create icons for their projects using a base image. The generation process takes 3 easy steps:
- The user selects or drops an image inside the drop area.
- The selected image is shown to the user in the preview. The user then confirms and clicks generate!
- The icons are generated progressively and then the user can download them with a click.
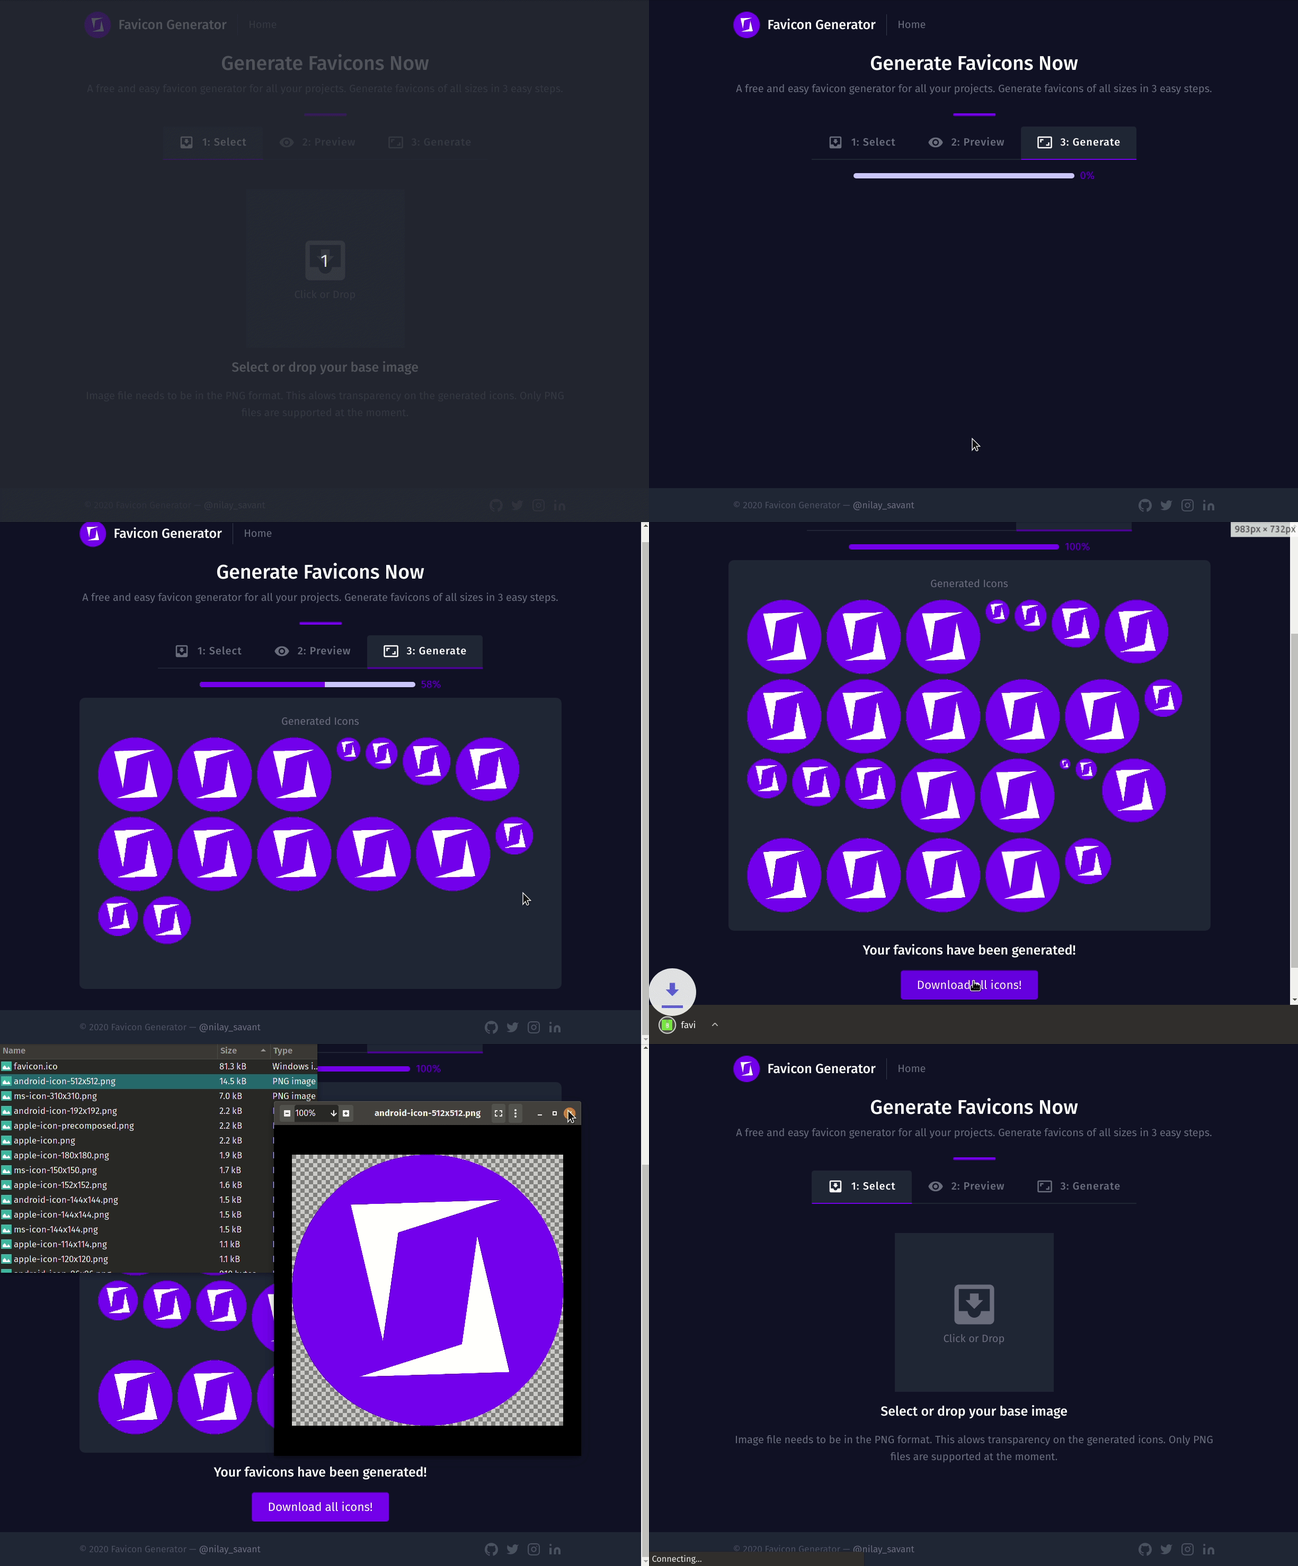
Table of Contents
The Need for a new Favicon Generator
Building multi-platform, multi-device applications means you need to take care of a lot of things especially with respect to responsiveness. Icons especially logos tend to be the most common asset that is shared across platforms. It is necessary for the application to be able to render icons based on the device size. Thus we provide the application with multiple sizes of the same icon. These icons need to be generated beforehand and bundled with the application.
Most Icons are designed with vector graphics editors like Adobe Illustrator or Inkscape. The icon designer will provide the icon in the *.png format or *.svg. Usually the *.svg format is preferred as it is infinitely scales to various device sizes, but is unfortunately not compatible or directly usable in most cases. Thus the SVG icon is then converted to a large PNG and then resized to various dimensions for various devices. The goal of this app is to allow users to auto generate a large set of resized icons (of standard sizes) using the original PNG image.
There are multiple favicon generators already available. Having built multiple projects, I'm in a constant need to resize my icons to fit various devices. I have tried multiple icon generators only to find some common pitfalls that were deal breakers for me:
- Most Icon generators worked well with icons that had a white background. Icons that had an alpha channel or a transparent background did not work well. The apps did not respect the transparency of the icon and added a white background. Most applications need icons to blend with the rest of the application. The white background looked odd and did not fit the design of the apps.
- Almost all icon generators I used were uploading the base image to their cloud servers as a necessary part of the conversion. Icons being mostly logos are like intellectual property and I think many users will not like to have them uploaded to a third party cloud server.
How it started: The Favicon Generator CLI
Looking at the problems discussed earlier I started to ideate a new icon generation tool. Any icon generator needs a way to process images. The first thing that came to my mind was ImageMagick!
ImageMagick is a free and open-source cross-platform software suite for displaying, creating, converting, modifying, and editing raster images. - Wikipedia
ImageMagick being a binary can be used as a CLI tool with the command convert. I played around with the command to convert images into various sizes and finally achieved what I wanted for the favicon generator. The command is as follows:
convert input.png -adaptive-resize 144x144 -gravity center -background none output.pnginput.pngis the input base icon image.144x144is the size to which the image is resized to.-gravity centercenters the image.-background nonePrevents adding a white background. ie. respects the alpha channel/transparency of the base input image.-output.pngis the resized output image file.
The best way to use it to automate this conversion for multiple image sizes was via a shell script. Thus I quickly hacked up a bash script to convert the base image to multiple sizes:
#!/bin/bash

input_file=$1 # take image path from arguments
output_dir="out"

while IFS=, read -r col1 col2
do
    echo "$col1 --------------------  $col2"
    echo "Creating file: $col1"
    echo "Size: $col2"
    # Run Convert to resize to file
    convert $input_file -adaptive-resize $col2 -gravity center -background none out/$col1
done < icons.csv- The above script reads an
icons.csvfile with all required image sizes as shown below:
android-icon-512x512.png,512x512
android-icon-192x192.png,192x192
ms-icon-144x144.png,144x144
favicon.ico,140x140- The output image file names and sizes are defined in the CSV above.
- The script then runs a while loop, looping line by line of the CSV file.
- Each loop runs a
convertcommand with required size to resize the image (as read from the CSV). - The converted files are stored in the
outfolder as defined by theoutput_dir. - The input file path is taken from the first argument passed via the command line when starting the script.
The script solved most of the problems. Now whenever I needed a set of favicons I would run this script over my base image and get the required icons. This basically solved my problem with transparency of icon backgrounds as well as the issue with icon's intellectual property and privacy.
But it came with a problem of its own. The problem of convenience and ease of use. Thus it was also hard to distribute it as a product.
Distribution via Cloud Function + Web front-end
To run the shell script CLI all I needed was a Linux environment. Thus I thought of setting it up to trigger via an API on a Linux VPS. But I soon found that ImageMagick binary is already bundled in the Google cloud functions container and is available for use via the standard interface. This meant I could run it for free via Firebase functions without the need to setup a traditional VPS.
For the Firebase function:
- I had to convert my bash script into a JavaScript service function that interacted with the ImageMagick interface to convert the images.
- The cloud function had to expose an Express API endpoint to upload the base image.
- The base image would then be converted via the service that interacts with the ImageMagick API and gets the resulting images.
- These images would then have to be stored somewhere. The Firebase Storage bucket would be used for this.
- The converted images links would be sent via the API to the front-end.
- The front-end would be a React app that consists of a form to upload the base image and download the resized images.
This seemed the practical way to go about this. But there was a problem. Although the app solved the background transparency issue, it failed to tackle the intellectual property and privacy issues. This is because the image here had to be uploaded to a third partly cloud. And the users would find it hard to trust a third party resource as I mentioned earlier.
The Advent of WebAssembly (WASM)
The advent of WebAssembly or WASM provided an environment to execute native code within the web browser itself! This meant I could possibly run ImageMagick inside the web browser. I soon started to explore this new technology. The technical limitation of not being able to run image processing within the web browser was the reason why most existing applications used a cloud server for this process.
After a bit of searching I found a WASM compiled version of ImageMagick. It was now feasible to run the entire process within the browser itself! This meant there was no hassle of setting up a cloud function or a storage bucket. Which also means no extra costs on scalability! The only cost would be of the static front-end deployment.
This solved both the problems of background transparency and the issue with intellectual property and privacy.
Client Side Web-App Distribution
The WASM version of ImageMagick allowed me to run the entire app within the front-end. There was no need of a back-end or cloud function. Thus I went with Jamstack and started setting up the project with React in NextJS.
Next.js is an open-source React front-end development web framework that enables functionality such as server-side rendering and generating static websites for React based web applications. - Wikipedia
There were a few problems that came up while setting up the WASM ImageMagick module. Some of these problems pushed me to the point that I almost gave up 😅. After hours of struggling to get the basic WASM module to initialize I finally found the culprit was NextJS while I was suspecting the module instead.
NextJS Server/Client isolation and imports
NextJS being a full Jamstack Application with support for server-side rendering there isn't a clear isolation between client side code and server side code while developing applications. Part of the errors were to do with window not being found and were easily fixed with an if statement. But the major issue was with the importing and initializing of the module. Adding a window check did not help. Nor did loadable component or importing via the next/dynamic. What did end up working was a async dynamic import inside the useEffect hook!
This was probably because the import had to be run asynchronously only after the initial script that setup a service worker was loaded. I had added the script inside the ./pages/_document.js and set it up to execute before the <NextScript />. But that did not work on its own. The module had to be asynchronously imported in the useEffect or event handler along with this _document.js setup.
Here is an example from the NextJS docs page for an async dynamic import:
export default function Page() {
  const [results, setResults] = useState()

  return (
    <div>
      <input
        type="text"
        placeholder="Search"
        onChange={async (e) => {
          const { value } = e.currentTarget
          // Dynamically load fuse.js
          const Fuse = (await import('fuse.js')).default
          const fuse = new Fuse(names)

          setResults(fuse.search(value))
        }}
      />
      <pre>Results: {JSON.stringify(results, null, 2)}</pre>
    </div>
  )
}
First Prototype: Hello Favicon Generator!
I finally moved to start with creating a simple form with image selector and a basic conversion. I had created a FileDropZone component in my previous code bases. Using this I setup a simple image conversion app:

I had to expand this logic to convert the base image to all defined sizes. I converted the CSV file from my bash script into a JavaScript Array constant:
const iconDefinitions = [
  {
    name: 'android-icon-512x512.png',
    resolution: '512x512',
  },
  {
    name: 'android-icon-192x192.png',
    resolution: '192x192',
  },
  {
    name: 'ms-icon-144x144.png',
    resolution: '144x144',
  },
  {
    name: 'favicon.ico',
    resolution: '140x140',
  },
  // ...rest
]
Using the above definitions I was able to convert to all image sizes and get their corresponding data URLs. Then I loaded these urls into <img> tags to render them to the DOM to display to the user:
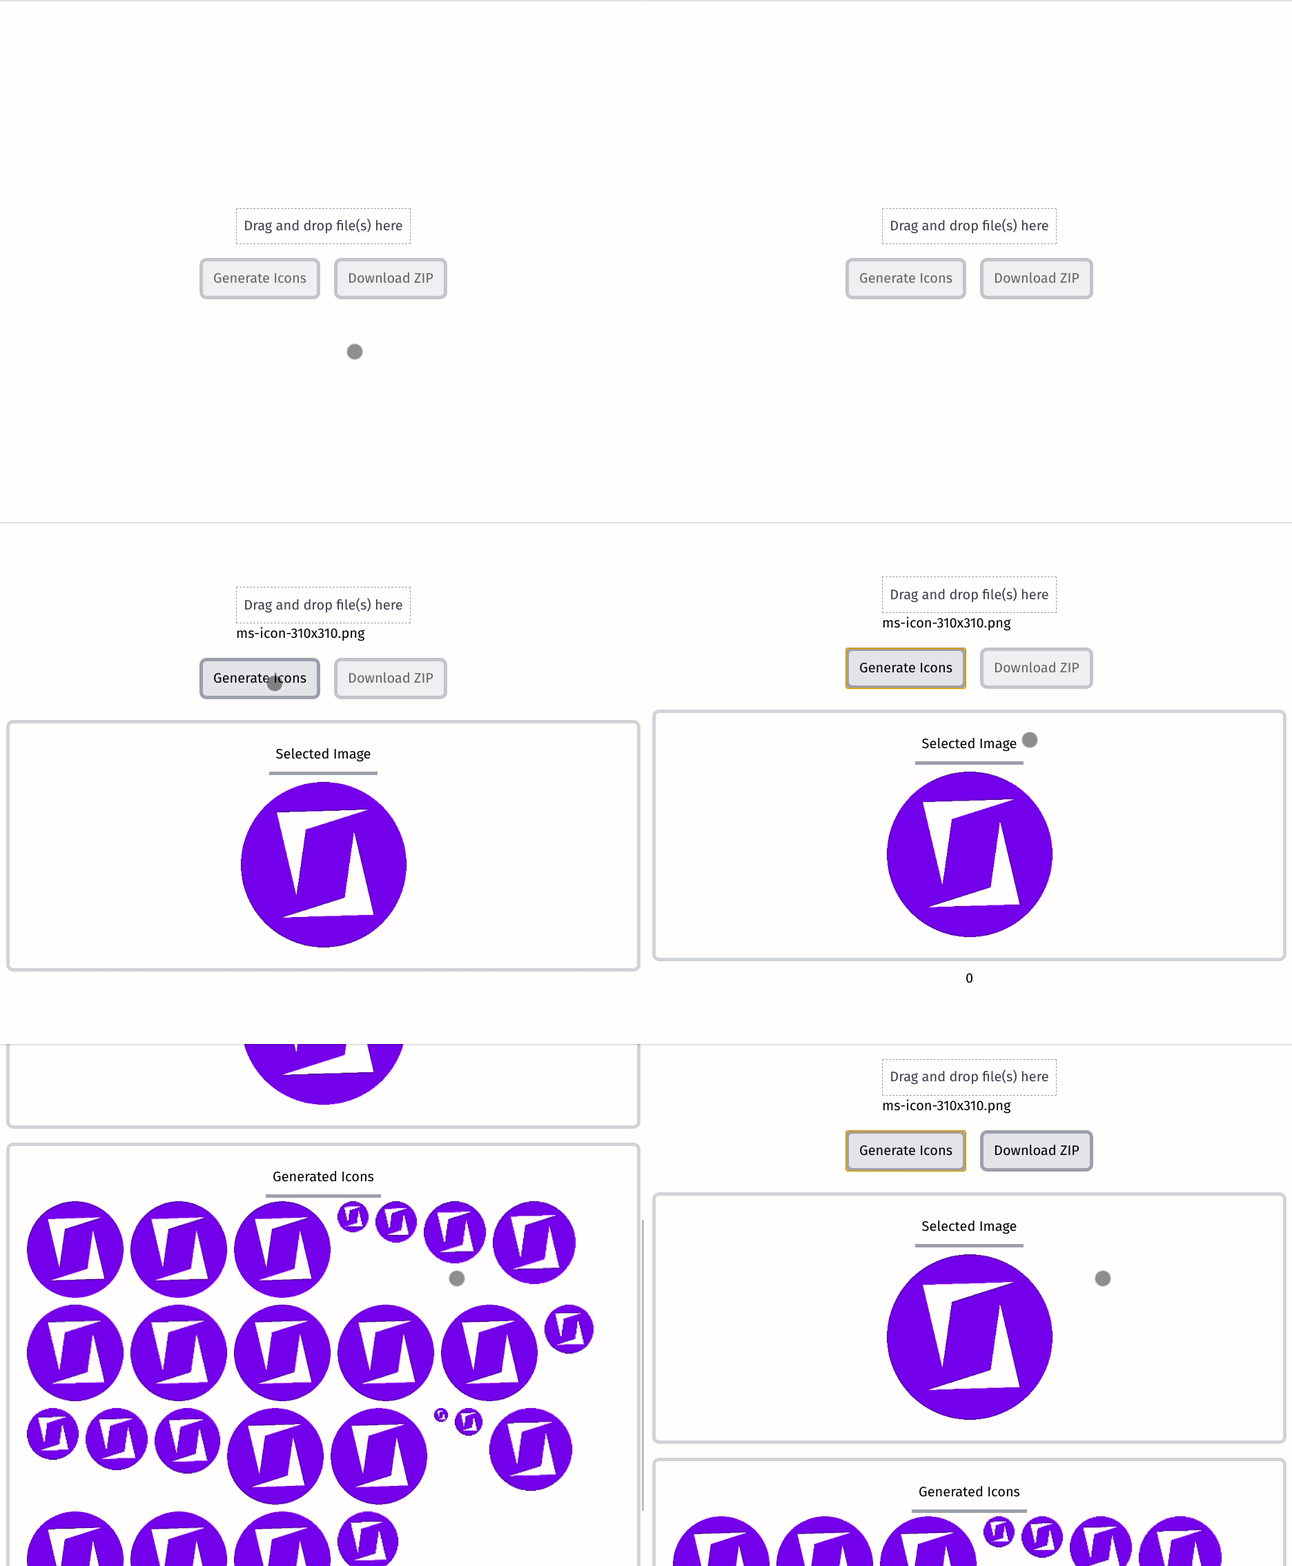
The next step was to enable downloading these images bundled as a zip file. I used JSZip for this. Slowly I managed to get the complete conversion loop to work, leading to the first prototype!
Final Version: UI Design Upgrade
After getting the entire process to reliably work I was now able to focus on the User Interface design of the application. I went with Tailwind CSS for the styling.
Tailwind CSS is a highly customizable, low-level CSS framework that gives you all of the building blocks you need to build bespoke designs without any annoying opinionated styles you have to fight to override. - StackOverflow
I quickly setup up the Header/Footer components with the required links before tackling the main Stepper component.
The Icon Generator Stepper
As a 3 step approach to favicon generation, I setup the stepper to have 3 steps:
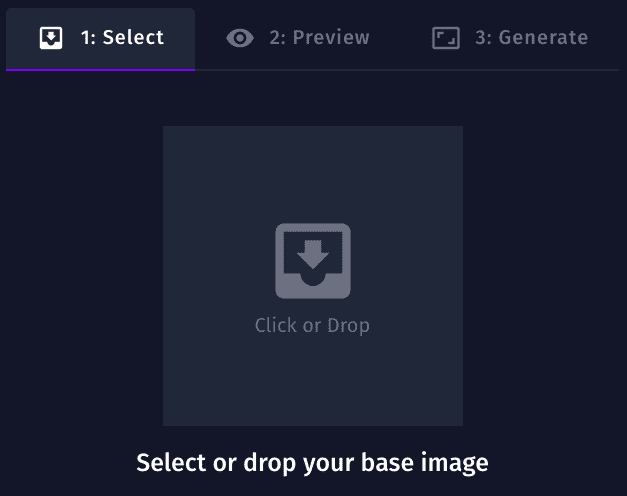
1. The Icon Image Selection
Step 1: Select
- This has the
FileDropZonecomponent restyled to fit the current theme.
2. The Icon Image Preview
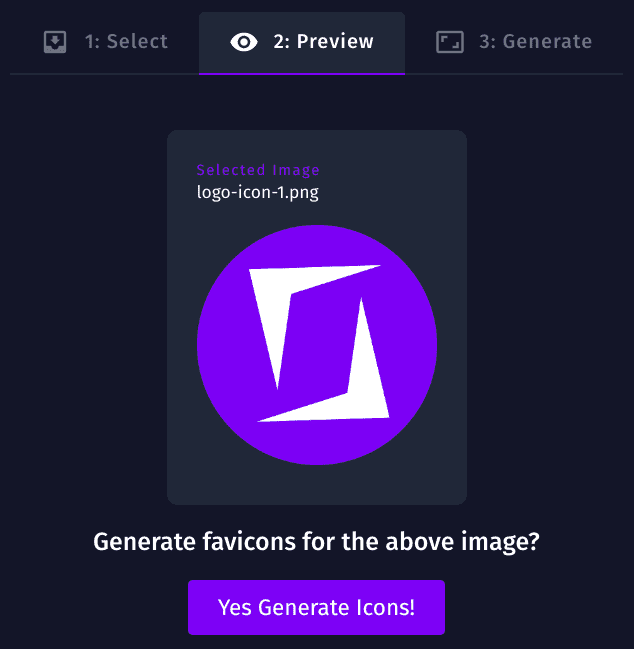
Step 2: Preview
- This step has a responsive
image preview componentand abuttonto confirm and trigger generation of icons.
3. The Generated Icon Images Display
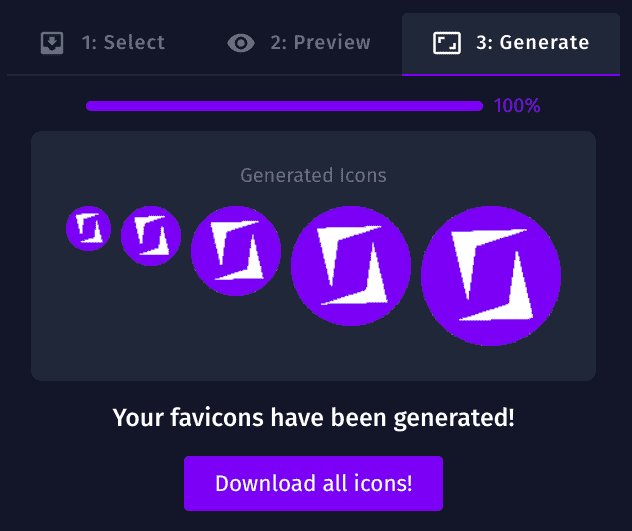
Step 3: Generate
- Finally we have the
generated icons preview componentto preview the generated icons. We also have aprogress indicatorto show the progress of the conversion. Finally abuttonto download the icons as a zip file is provided here.
The entire user interface is responsive across all devices has been tested with chrome on desktop and mobile.
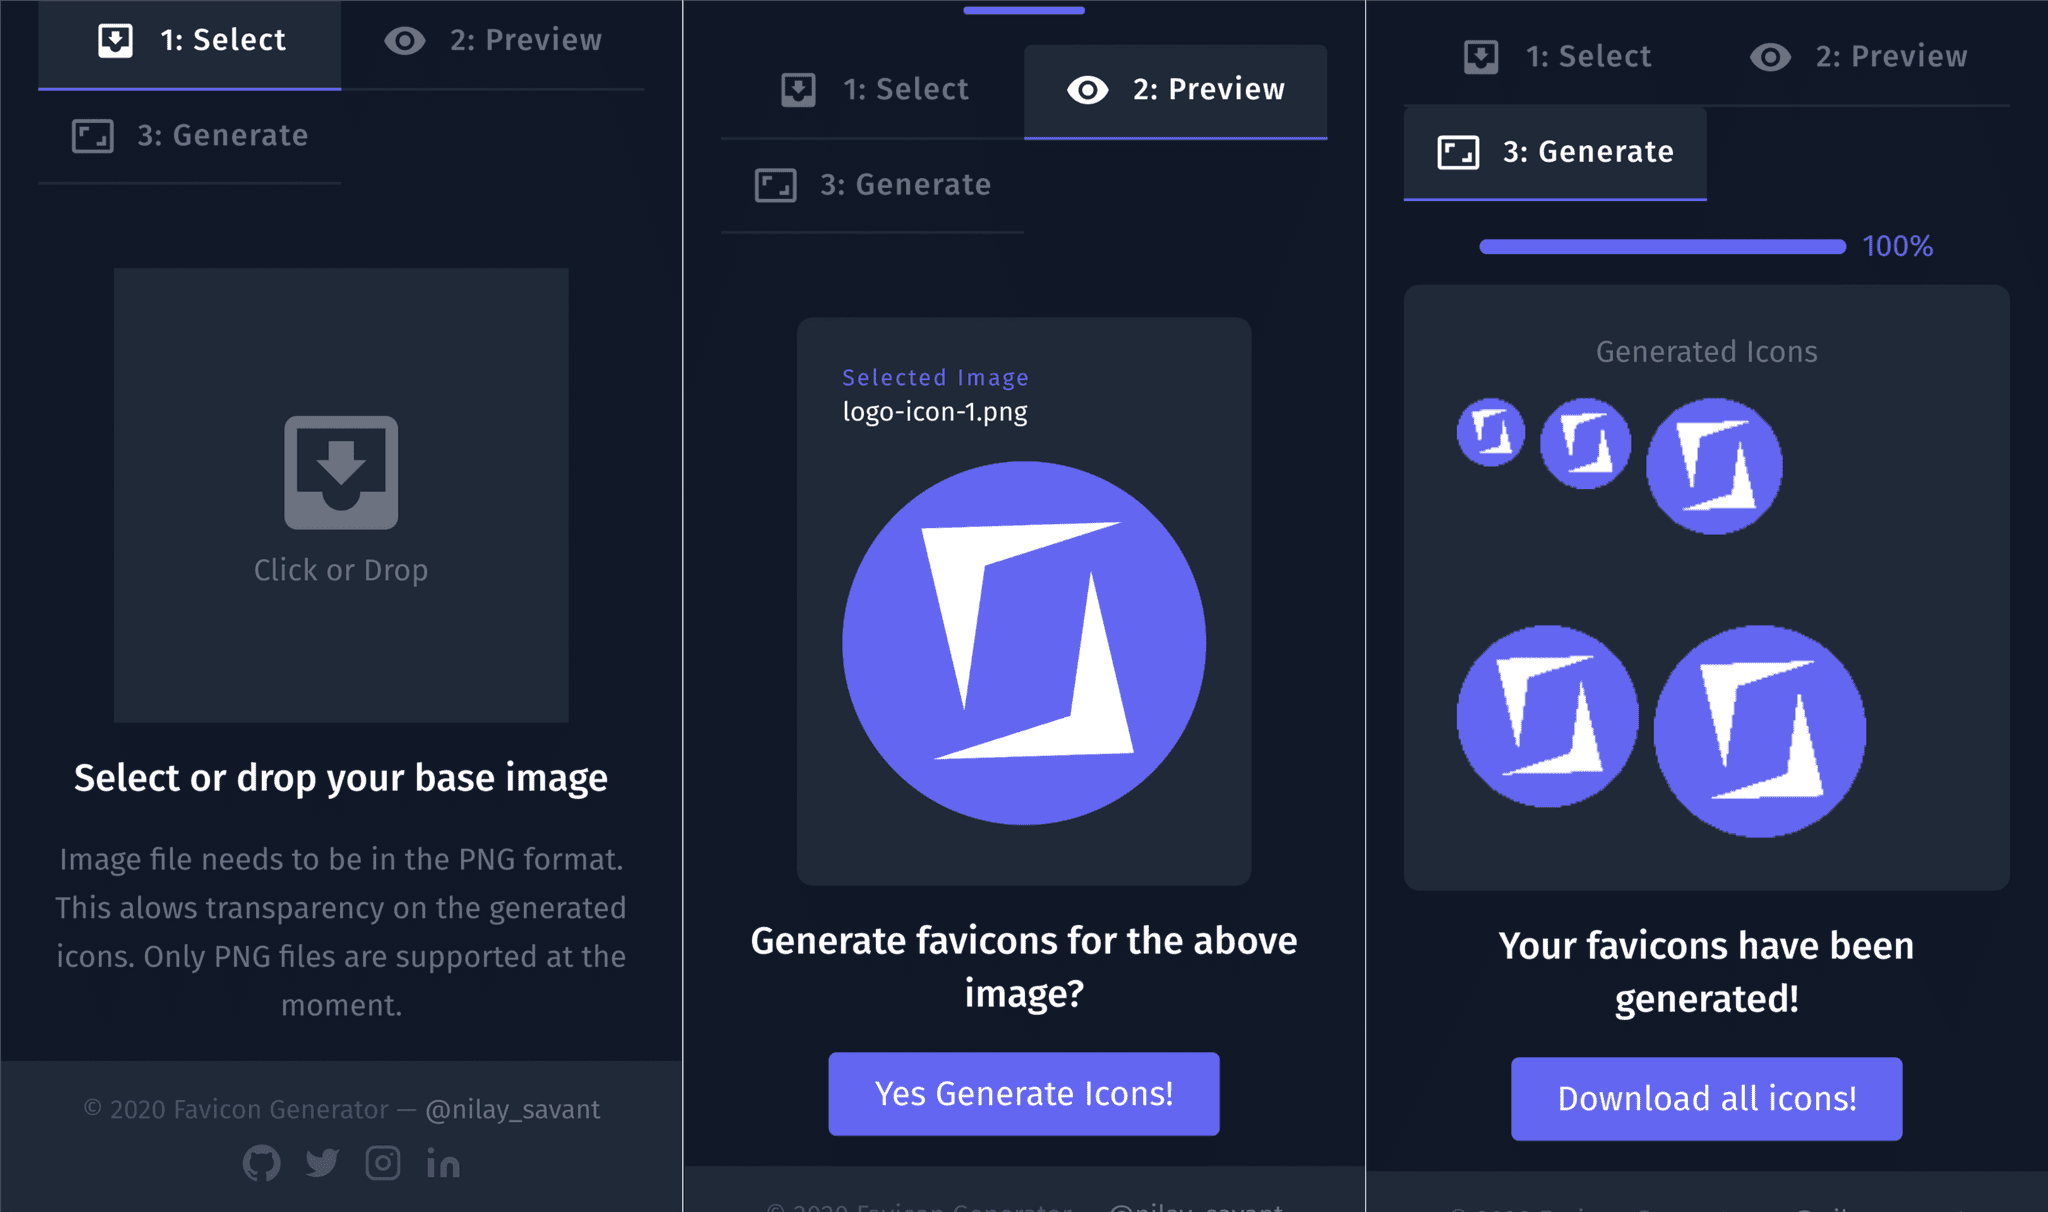
Mobile Responsive Views
To Conclude
The web-app solves the problems with the existing solutions and provides an easy way to generate favicons. Newer features with regards to image manipulations might make their way into this, but that's for another post. Stay tuned for more!
You made it to the end! Thanks for reading! Here are some potatoes 🥔️🥔️🥔️🥔️